
The First Time You Use Grid
How To Sign In and Get Set Up
You’ve decided to give Grid a try. Awesome! What do you do now?
This quick walkthrough will show you the steps you need to take in order to get up and running.
- Sign up for Grid
- Install dependencies
- Log into Grid
- Integrate with GitHub
Step 1: Sign up for Grid
Register an account on the Grid platform here (you also will receive $25 in free credit!):
Step 2: Install Dependencies
Note: Using the Sessions feature in Grid allows you to skip this step.
Install Python
Make sure you have Python installed (Grid requires Python 3.8 or higher). You can download and install Python here:
https://www.python.org/downloads/
The following steps will install the Grid CLI tool. Grid commands can then be executed by running grid <grid command> <grid command parameters>
pip install lightning-grid --upgrade
Install SSHFS
Windows Users
If you are using Windows, we suggest taking a look at WSL (Windows Subsystem for Linux). You can find more details and installation instructions here:
https://docs.microsoft.com/en-us/windows/wsl/about
Linux Users
Install sshfs Linux (Debian/Ubuntu)
sudo apt-get install sshfs
Mac Users
Mac Users should install sshfs MacOS. This is dependent on MacFuse and will yield an error with a vanilla brew install. See here for resolution.
Step 3: Log into Grid
To log into your Grid account:
- Visit https://platform.grid.ai/
- Sign in/create an account
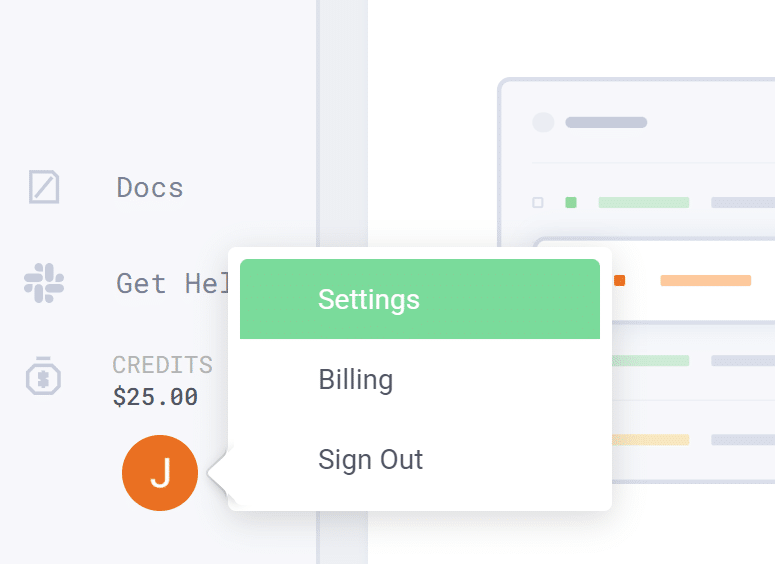
- Click your user profile icon
- Click ‘Settings’
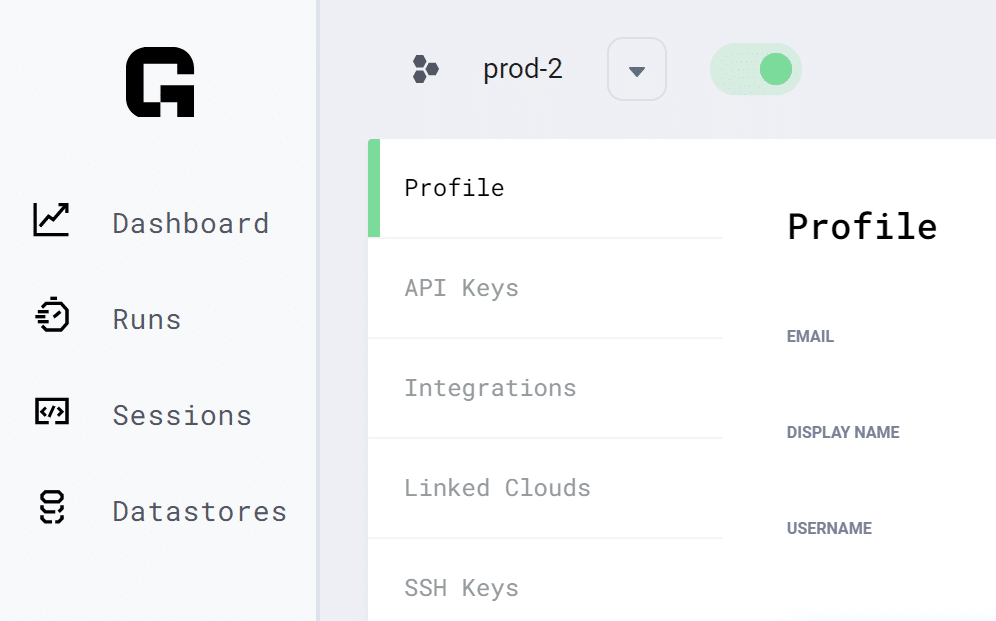
- Click the ‘API Keys’ tab
This will provide you with the command necessary to login to Grid via CLI. Once the command is run you will be able to interact with Grid via the CLI commands. See https://docs.grid.ai/cli/api for our official CLI documentation.
Viewing login credentials
Your login credentials, API key, and ssh keys can be found on the Settings page.
At the bottom left of the Grid window, click on your circle profile icon in the navigation bar and select Settings.
You can add an ssh key as well as grant access to GitHub repositories using this page.
Step 4: Integrating with GitHub
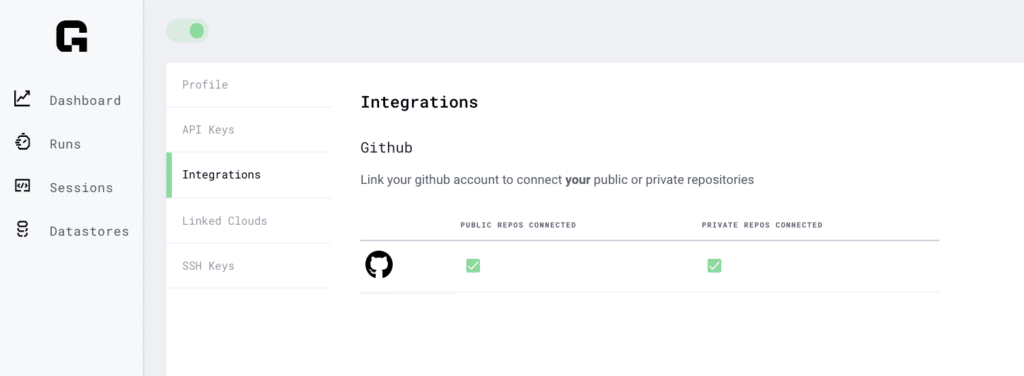
To harness the full power of Grid, it is important to integrate your GitHub account with your Grid account. This will enable Grid to utilize your public repositories for training. You also have the option to give Grid access to your private repositories. By default, Grid will not have read/write access to your private repositories.
To grant Grid read access to your private code, navigate to Settings > Integrations > Grant access. Grid does not save your code, look at it or compromise its privacy in any way.
Note: If you logged in with Google, you will need to link a GitHub account and grant access to your repos.

If you signed up to Grid with GitHub, you’ll already be logged into your GitHub account.

Grid Run localdir Option
Currently, Grid has a native GitHub integration which allows you to run code from public or private repositories. There is currently no support for integration with other code repositories providers such as BitBucket or Gitlab.
We provide the –localdir feature within Grid run to allow users to run scripts from an arbitrary local directory, regardless of where that code is hosted. The main benefit of this feature is for users that do not need to grant Grid access to their code repository accounts. Below is an example usage of the grid run –local dir option.
grid run --localdir run.py
And that’s it! You’ve taken the first steps toward setting up Grid. You’re now ready to start using its exciting features.
Your $25 in free credits should be available to you shortly, once we’ve confirmed your registration. You can view how many credits you have at the bottom left of the Grid window.
As always, Happy Grid-ing!
You can find more helpful tutorials on our blog, or you can explore our documentation. You can also join the Grid Slack community to learn more about what the Grid platform can do for you, and collaborate with other users and Grid team members.